Places to Party

Monday, May 11, 2015

April's Project, a Little Late: Un Petit Projet

Wecome to post #100! Wow can hardly believe that but here it is...

... And to mark this grand occasion we're going to do a small project....

Have you ever been working on a large project that you swear will never get done?


You too? So glad I'm not alone....


I've been working on a quilt for two months now. It's one of those things that you don't think it will take very long until you realize that for each finished 12" block, it takes about 5-7 individual pieces to make one small components and three components to make a block!
So I have about one row done. ONE ROW! After two months of work.


Sometimes you just have to do a small project you can get done in a day to feel some sense of accomplishment. This was that project. This is out of a recent quilt book purchase,
"A Cut Above".


This was the perfect little patchwork project to do with all those small bits and bobs that you have after large projects. They are too small for a large project but too big to throw away. It's hard for my frugal soul to throw something away that has use. Or if you have a small piece of fabric that is just so pretty like this one that you have to find some use for it.


So I saw this in her book and decided I liked it so much that I would make one for myself and one for my mother. For mom's I used some of the fabric left over from her quilt.

First I did the four 2 1/2" squares and just mixed and matched.

Then I did the flying geese patch. You can make them in two different ways. One that I'm currently using for what we'll call, "The Two Month Quilt Project", that I'll show you later. Or the way I first learned how to do them which is simply a rectangle and  a square patch.


Sewing the flying geese patch, corner to center both
sides.
Take one 2 1/2" x 4 1/2" rectangle patch and with the right side towards you, lay it in front of you. Take one of your 2 1/2: and from the outer corner on a diagonal, sew towards the center like this:


Then do the same for a second patch on the other side. You will cross in the middle at some point.


Trim the outside corner and fold and iron the patch back. Congrats, you just made a flying geese patch.

This is the easiest way to make these if you're only making a small project. If  you are making a larger one, I'd use the Eleanor Burns method.

Now added four white 2 1/2" square blocks in the corners. View the block as rows and grab one row and sew across. Do the same for the remaining two rows then sew the finished blocks together.


Make three of these blocks and as  you make them remember to trim your pieces so that you have straight lines throughout the process.


Sew these blocks together and then sew a 2 1/2 border along both small sides of the finished block set. Trim and iron. Then sew another 2 1/2 border along the bottom and the top. Iron.
 
Now step back and be proud of your one day project. Quilt if you want. I think I'm going to attempt to frame it like they did in the book.


Mom's with some fabrics from her quilt.


Nice to have a quick project for a sense of craft satisfaction.
 
Mine. I think I'll hang it on the porch.

Tuesday, May 5, 2015

Finally Spring! Opening the Summer Porch


The balmy breezes of Spring are finally here!


While we still get the crisp morning where we grab our winter coat, for the most part, warm temperatures have returned.


Have you ever noticed how suddenly you hear the birdsong for the first time in Spring and have forgotten that you missed it all winter?


This was a hard winter. I mean a really hard winter. In March, we only hit "normal" highs for FOUR HOURS. Yes, in 31 days total, the weatherman said we hit FOUR HOURS of normal temperatures!

Mother Nature threw the book at us to be sure.


Yikes!

The unofficial start of Spring at our house is the opening of the summer porch.
The summer porch typically becomes a respite for two facecord of wood during the winter months but this year it became a dumping ground for anything that we didn't want to deal with as you see:


So after throwing out things we weren't using anymore, putting out the flag and washing down all the surfaces, it came back to it's wonderful relaxed self.


It truly is one of my favorite places in the house...


I love sitting out here to read a book, talk to my mother on Sunday nights or watching the occasional summer thunderstorm.


Clearly I wasn't the only one awaiting the porch to be open!


And of course there was a new rug to mark the occasion. (Which I thought I had taken a picture of on the porch but apparently did not).


In other news, the chicks have begun getting their adult feathers which mean they are a special kind of cute/ugly. One of them tried to make a break for it last night. I went to give them clean water and there were only 5 in their little container house. My mind went to bad places. Did the cats get it? (The door is always closed but accidents happen). Did it escape and we'll find it by the smell later? (EWWWww!). Then I looked down. The little chick had quietly settled herself on the rug and was just dozing off. So I picked her up and put her back in her container house with her sisters.


While she wasn't happy being picked up, I secretly think she was glad to be back "home".


It's so nice to welcome Spring back!


Monday, April 20, 2015

The Chicklets

For years I've wanted chickens.


Not so much for the normal reasons people have chickens, rather because I'm a gardener. I raise tons of tomatoes every year and various fruits and veggies that I preserve for my family's use through the winter.

Unfortunately my soil is heavy clay.

I mean I could probably throw pots out of this soil it's so heavy.

Isn't this one of the funniest things you every seen?
My chicks came home in a Timbits like box!

A box of little chirpers!


If I was back in Michigan where my family lives, I would have all the fertilizer I needed to make my soil more arable in the form of cow manure, but alas, I do not and buying that much manure is very cost prohibited.

So, in come the chickens. Chicken manure is very hot but once mixed with their bedding, it becomes something your plants can use without burning them. Add in the benefit of eggs and it's a win/win.

When I lived on our farm, we had chickens but with water, food and an entire barn to sleep in, they pretty much fended for themselves. We never really did anything with them, they just were kind of there.

So this weekend I took the plunge. After debating and debating about getting them, I did it.
I mean, if you are constantly waiting for an ideal time to do something, it will never come will it?


So here are the girls. And needless to say, I think we are all in love with them.


I don't think it's mutual though. I think to them we are just a big scary hand but they'll get used to it.


Each of us got to name two chicks. Here are their names.


Of course they all look a like at this stage so these names
aren't really attached to any of them.


Dixon's Chicks:

Chica
Toy Chica


Steve's Chicks


Marrianne
Ginger


Stacey's Chicks
Holly
Quinn


Yeah, we are big on cartoons in our family.


The chicks are set up with a big heat lamp and their water and food. In about a month and a half they should be all set to go out to their permanent home, a chicken tractor. They already are scratching for non-existent bugs so look out Japanese Beetles your days are numbered this year!

The Chicklets are coming!


Wednesday, April 8, 2015

Chicken Sauced Noodles

My mother may have found this on the back of a package or can of soup, I'm not sure. All I know is that this was one of those favorite comfort foods of my youth.

It's one of those crazy four ingredient recipes that is perfect for a lunch or great for a side dish and you can have it done in the time it takes you to boil the noodles.


Ingredients:

So good!

  • 1 package wide egg noodles
  • 1 can of cream of chicken soup
  • milk to thin
  • salt and pepper to taste


First boil your noodles to the package direction and drain. Rinse to remove excess starch.
Put back in the pot and add chicken soup. Thin with milk and add salt and pepper. Stir to combine and warm.

So good and so easy. This would be great side with chicken and tastes a lot better than some packaged side dish.

Enjoy!

Friday, March 27, 2015

Helen's Trousseau


Let me start by saying that I'm no seamtress. I do my best and I think that may have held true for many pioneer women. 

For some, sewing was a joy, for others just another necessary chore. Now that she finally has a body after so many years of just being a head, it's well high time she gets an appropriate accoutrements. So how to dress her?


Well, I decided to dress her in the year of my house was built, 1867. As any lady of the time would have done, I consulted the fashion magazine of the time,
Godey's Lady Book for the year 1867.


I decided she needed a party dress and something in a blue satin or silk to highlight her coloring and her beautiful blue eyes. In looking in the Godey's book it becomes apparent that there had to be some accessories to her dress.


I'm favoring something like this for our friend. Something a little off the shoulder to show a bit of her nameplate. I also like the little girl's trim and may add something to that effect as well.


And then there are always these....


Godey's was not only a fashion magazine but it also gave some clues to construction as it was intended to teach women who may have never had the opportunity to purchase these fashions, how to make them.

Which is as helpful to us today as it was to them to figure out how to construct these garments....


I had no pattern for Helen's dress but I knew I wanted to highlight her molded shirt so I decided to create a "rounded neckline. I made a paper pattern by laying her on the paper and add some space around it.


Then I cut it out and made a back. The back should have been a bit bigger than the front to allow for the outfit to shut, I had to add to mine.


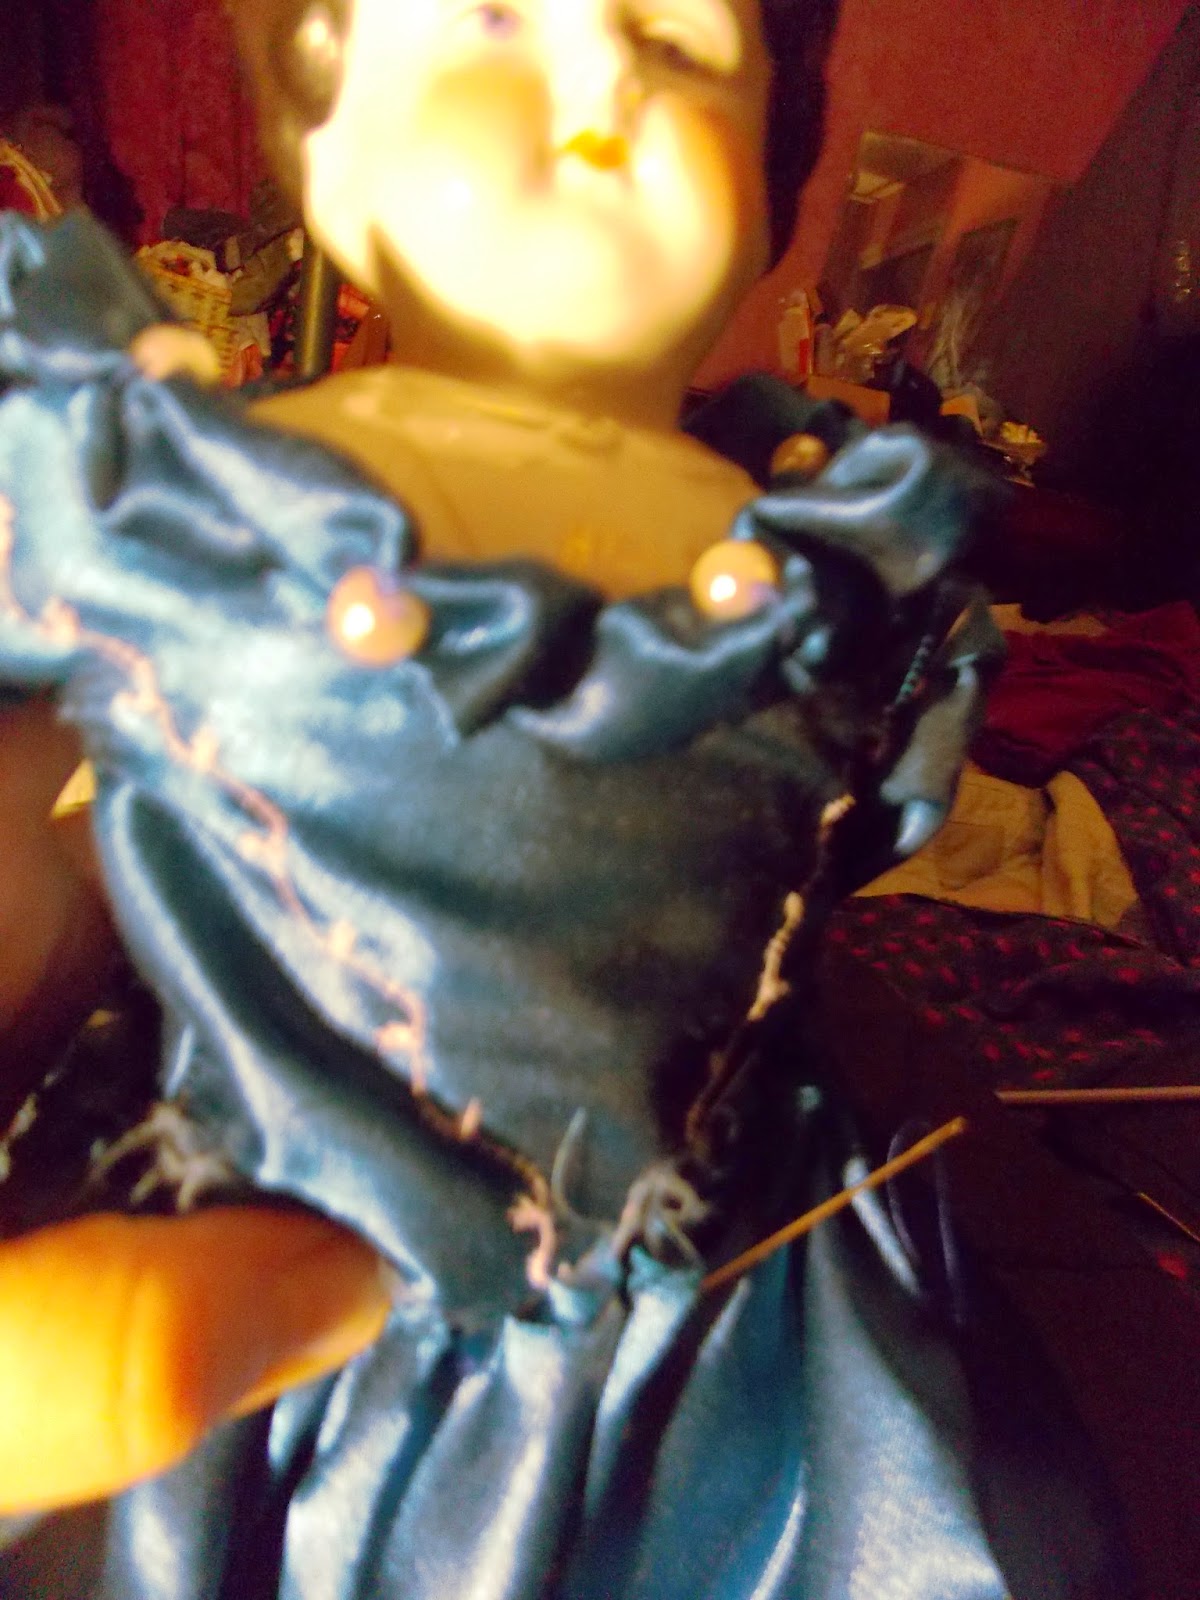
Then we needed to add some interest to the neckline. I made a tube, gathered it and attached it to the neckline, then at intervals, added some ribbon and pretty pearls that I found in my sewing kit.


This is actually the same teal as before, edited it to take out the
yellow tones (I took the image at night) and it shows a bit darker.


So now we needed to add sleeves. I cut out some sleeves a little longer as I was going to have to tuck them in on the ends to finish them. Then I found this lovely wandering vine pattern and decided to add some decoration.
 
 
And now the overskirt and skirt. I decided to use the Godey's Lady design for the skirt.
 
This seemed very easy when you really look at it. Again, pattern reading is key just like it would have been to our Great, Great, Great Grandmothers. Essentially this is an overskirt that has been gathered at intervals, so I did the same with Helen's dress.


Small stitches showing on the front side where key. I ran a long gathering stitch and pulled it up as necessary.  Where I ended, I put a ribbon rose on the front which added décor but also hid the knot.


Looks a lot like the image above doesn't it?
 
I did this after work at night so forgive
the horrible lighting conditions.


Now we are going to join the underskirt to the top skirt simply by running a large gathering stitch at the top of both conjoined. I did this by hand as I worked about adding runs to the satin fabric if I did it by machine.


Then I matched it to the bodice we've now made.


And added some trim to her elbows, specifically bows. And now, after about 100 years, our little china miss has a ball gown that she's so very deserving of. I wonder if I should put this on some fashion blogs, what do you think?


Finally all put together.


This shows the full gown a bit better....


This was fun project and one that was definitely on my craft "bucket list". Do you have a craft bucket list? I still need to learn to knit socks and mittens then on to woodworking, and.... 
 

                                                          Yeah, it never really ends does it?

Monday, March 16, 2015

Project #3 Meet Helen


"May I present,

                 Miss Helen....


Lately I've been feeling a little like one of those pervy unsubs from the Criminal Minds TV show.


You see, I've been hunting down arms and legs...trolling EBay for them.


Let me clarify that a bit. China doll arms and legs... 

Let me take you back a LONG time ago.....


I grew up in mid-Michigan and where I grew up there was an historical village built with homes from the turn of the century that were transported to the village and set up. The village had it's own blacksmith shop, merry-go-round, several homes, a general store, an historic train and depot and Stanley School. Every year in my elementary, the third graders would spend an entire day going to that school so we could experience a day in the life of a pioneer child.


http://www.geneseecountyparks.org/pages/StanleySchoolhouse

We would wear our bonnets and dresses and bring a pail lunch. We would sit in a one room school house and receive our lessons from the teacher. At recess, we could drink from the pump and play games. It was great fun and I spent many a fun time at that village both as a visitor and as a volunteer.


http://www.geneseecountyparks.org/pages/crossroads
Going to the general store in the village was also a treat. While they sold the obligatory tourist souvenirs, they also had items that were for display only that would have been in the store a hundred years prior. I remember two of them very well, beautiful china doll head dolls sitting high on a shelf. One day, I said to myself, I would have a china head doll like those.


The china head dolls I speak of were the "Barbie" dolls of their day.
These were not the fancy Bru's or Jumeau's that, in general, only wealthier families would have owned, these were, instead, the common china dolls that were accessible to many families at some point.

These dolls came in two main styles, highbrow or low brow. Their hair could be blond, brown or most common, black. Our Helen is a Low brow china doll. It refers to where her hair falls on her face.

"HELEN"

About a year ago I decided I wanted to finally purchase a doll but I figured the completed dolls would probably be out of my price range so I would purchase the components and make the doll myself. So when I saw this winsome china doll head named Helen smiling back from the pages of EBay, I knew I had my head. Surprisingly these are available on EBay for not a lot of money. But then to find the arms and legs. Not as easy as I anticipated.
Finally I received them and here is how I went about putting it all together.


There really wasn't any "pattern" per se but, like the pioneer mother's of old, I created one.

I folded a piece of typing paper and made a general pattern shape on one side. Then I folded it and cut it. I did this for the arms and legs as well as the body. Then cut it out of fabric and made sure that the sewn pieces would fit around the china.


I decided that I wasn't going to make Helen like a typical china doll, instead I was going to give her "joints" like a teddybear. In this way, she would be able to sit up and have some positioning of the arms. I also made her with bent arms so that her hands can lay in her lap like a lady should.


After I cut out the doll parts, I sewed all the parts around leaving an opening on the torso and at the end of each appendage to attach the china legs and arms. I turned them inside/out and stuffed them using closed scissors to stuff each piece as full as possible.


The easiest and most cost effective way of making "joints" on your doll is to make "button joints".  Using two buttons per "joint", Put one on the outside of the appendage and one on the inside of the body. Now sew both button together through the thicknesses. This will allow the arm or leg some give to allow them to move as opposed to just flop.


So after sewing the main body in a bracket style to allow me the opportunity to sew these joints. I then finished the body and stuffed it.


The arms and legs were another challenge. After stuffing them they had to be attached. Sometimes you get lucky and there are little holes in each leg or arm so that you can sew through the leg to the other side and directly attach the legs. Unfortunately there is also another way which was what this was set up for where there is a 'channel' in the leg through which you essentially glue the leg onto the cloth. It's not my favorite way as I've got another porcelain doll that I bought years ago and because it's glued, her leg constantly falls off. If I was brave or had another set, I would have attempted to drill a hole through the porcelain but as I did not, I did not want to risk it.


To attach the arms and legs, you start by making a run stitch around the opening and make sure that the appendage fits. Leave a tail so that you can pull it tightly and knot it.


You want a tight fit so sometimes this isn't that pretty. Then run a bead of glue in the channel and place the appendage in the hole. Then pull on the running stitch to secure it and I make several passes around the appendage tying knots in the front, now the back and again in the front. Then let the glue dry.


Stuff securely.


I'm also not sure if these arms are to proportion but that is all I had so that's what we got. So after attaching these, I stuffed the body as tightly as possible as the head is going to be the heaviest part so we need to make sure that the body is going to be secure enough to hold the head.


Stuff with closed scissors. Careful not
to poke through!
Whip stitch securely.


Then we whip stitch or blanket stitch the opening to secure it.


Now for the final ta-da.... Time to give Helen a body again.


Her head has two little holes in the should plate to make it easy to attach. You can either use a large needle and go from to back securing through the hole and under the hole or sew in the front and back of the plate to secure it.


And now our handsome lass has a body once again and one that can move!


Our next endeavor will be to create a dress worthy our hundred year old lady. I do hope when I'm a hundred years old (God willing!) I'll look as good as our friend Helen.