It's the holiday gift giving season and you want to give a memorable gift but maybe either you don't have a lot of time or a lot of money. You don't want to do a gift in a jar because, lets face it, everyone does that and when the jar is empty, what have you gifted? A jar.
Hmmmm.
Wouldn't it be wonderful to give a gift that everyone would be amazed at? Something that they pull out every year to put on their mantle or maybe even keep out year long. Something that they could brag on and say, "Isn't that amazing, my friend XYZ made that for me last Christmas, I just love it?"
In about an hour and a half you can do just that and make something you'd be thrilled to have yourself or give as a gift. It looks so impressive and only you and I have to know how easy it is to make.
Don't let the stained glass aspect scare you. Stained glass is like any new craft, it just takes practice to learn how to do it. I've seen a few of these tools at craft shops like Hobby Lobby (although I no longer shop there due to their health policies towards women) or Radio Shack.
Easy & Beautiful Moravian Stars for the Holidays
You'll need:
- 1 sheet of stained glass of your choice.
- Industrial carpet swatch to protect your surface
- Flat edged pliers
- 1 glass cutter
- Copper foil
- 60/40 soldier
- A soldiering gun
- Flux
- Safety glasses
- A piece of paper to make a template.
The first step to making the star is to determine what you want the end result to be. Do you want a spiky star? Elongate the triangle to make it more spiky. Fat like mine? Make it more like an equilateral triangle. You determine what you want the end result to look like by what type of triangle you draw.
Once you have a triangle shape, with a sharpie marker, draw a line of these triangles, you'll need about 12. The easiest way to do this is to make a line of triangles so that you have a straight edge. I turned mine up and down to do this. Glass doesn't have a grainline so you really don't have to worry about which way you cut it. Once I have one cut I often use that as a template for the rest.
Now, taking your glass cutter, this is a pistol grip cutter which I think is easier on your hands, score along the lines you have just drawn. You don't have to put a lot of pressure on the glass, just a consistent pressure is enough to score it. Remember we aren't trying to break the glass at this point, just create a stress line for the break to occur.
Now comes the point where we snap the glass. This used to scare me silly but after a while you really have no fear of it. First put on your safety glasses. Taking the glass against the edge of the table and push down on the cut edge or snap it like a cracker in your hands. You have to do this six more times at least so by the end of it, you'll be a pro.
Once you have your pile of triangles, we have to foil them. Nothing really sticks to glass but adhesive, so we have to put something on the glass so that the lead has something to grab onto to put the pieces together. This is copper foil tape. Just tape the edges of the piece, overlapping a bit on the end.
 |
| Center the tape on the cut end. |
 | ||
| Wrap around.
|
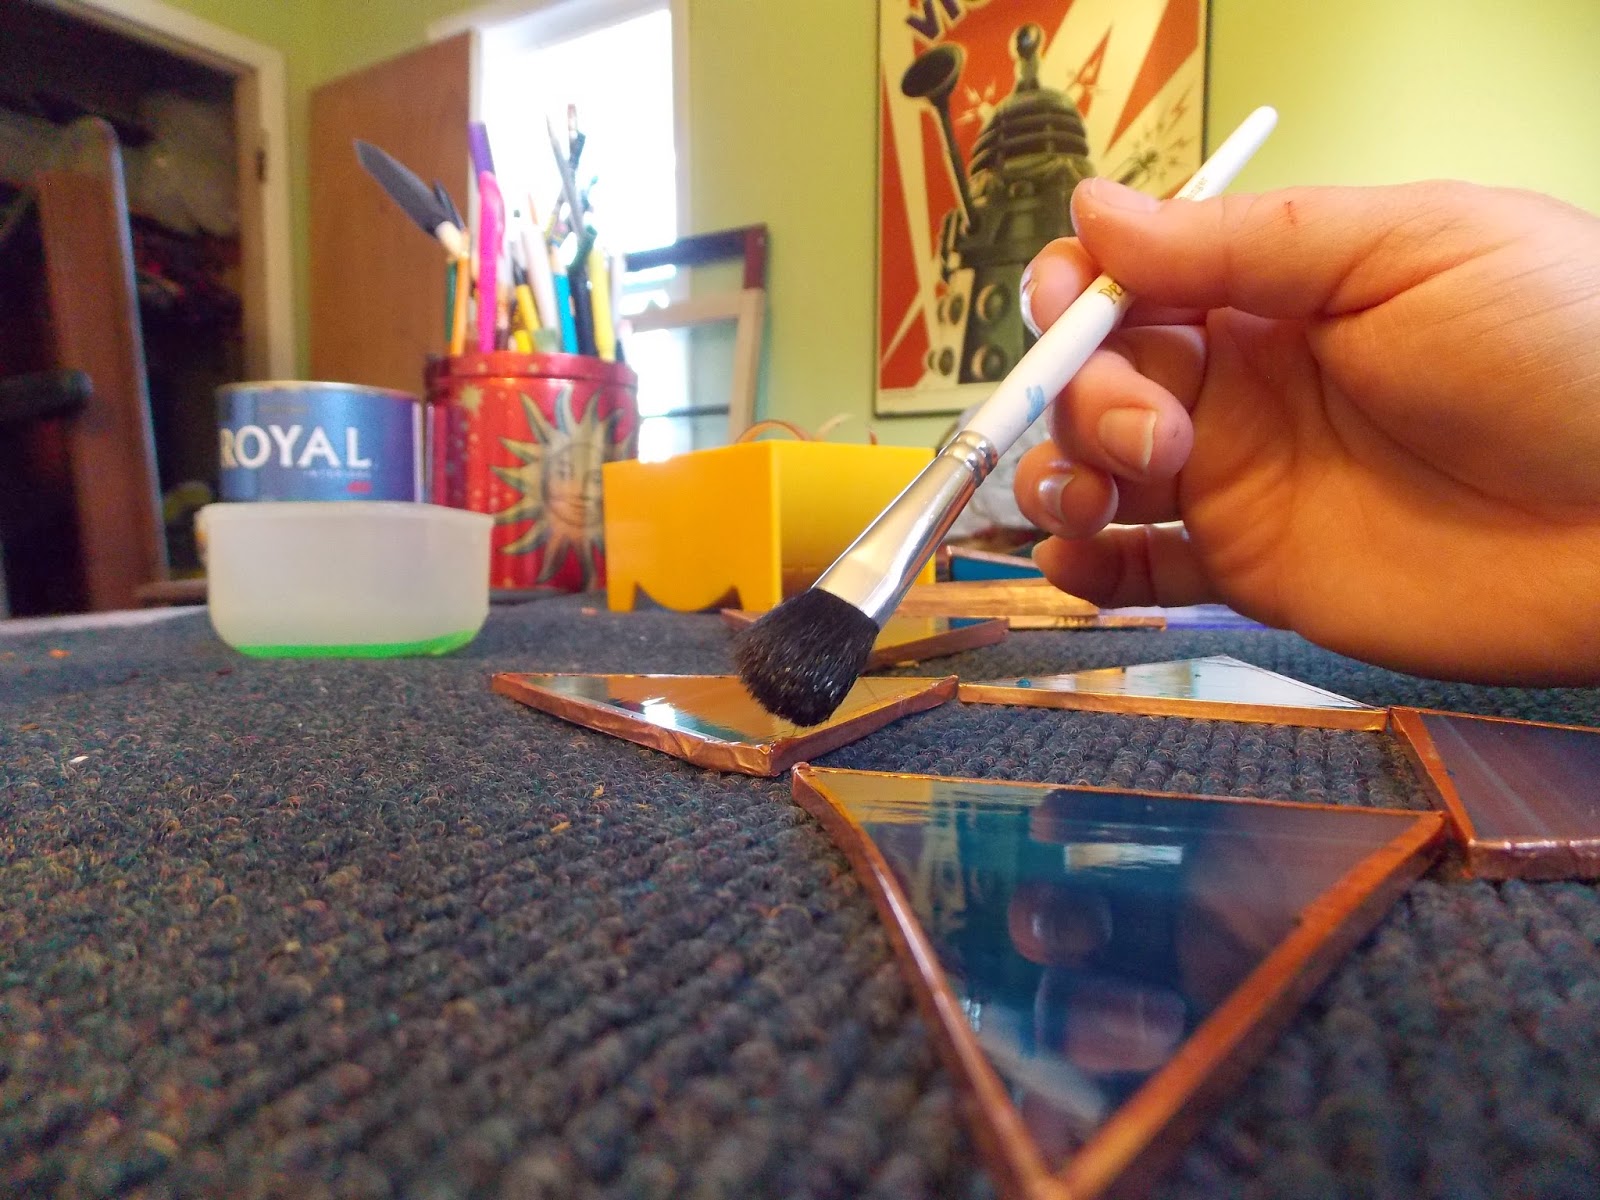
Now you have to use this mysterious thing called Flux. (I get a lot of my supplies at delphiglass.com). Flux helps to chemically bind the solider to the copper tape. Without Flux it wouldn't attached. Just a little bit pained on all the copper will do it. You don't have to drown it. Flux lasts a long time.
 |
| Just enough to lightly cover the copper. |
Now heat up your soldiering gun, and grab your soldier, here comes the fun part!
You're going to start by tacking all the corners together. When we have the loose parts, I also like to tin the edges of the parts. "Tinning" is taking a small bit of soldier and going over all the copper tape so it appears uniform. It's a lot easier to do this before all the pieces are together.
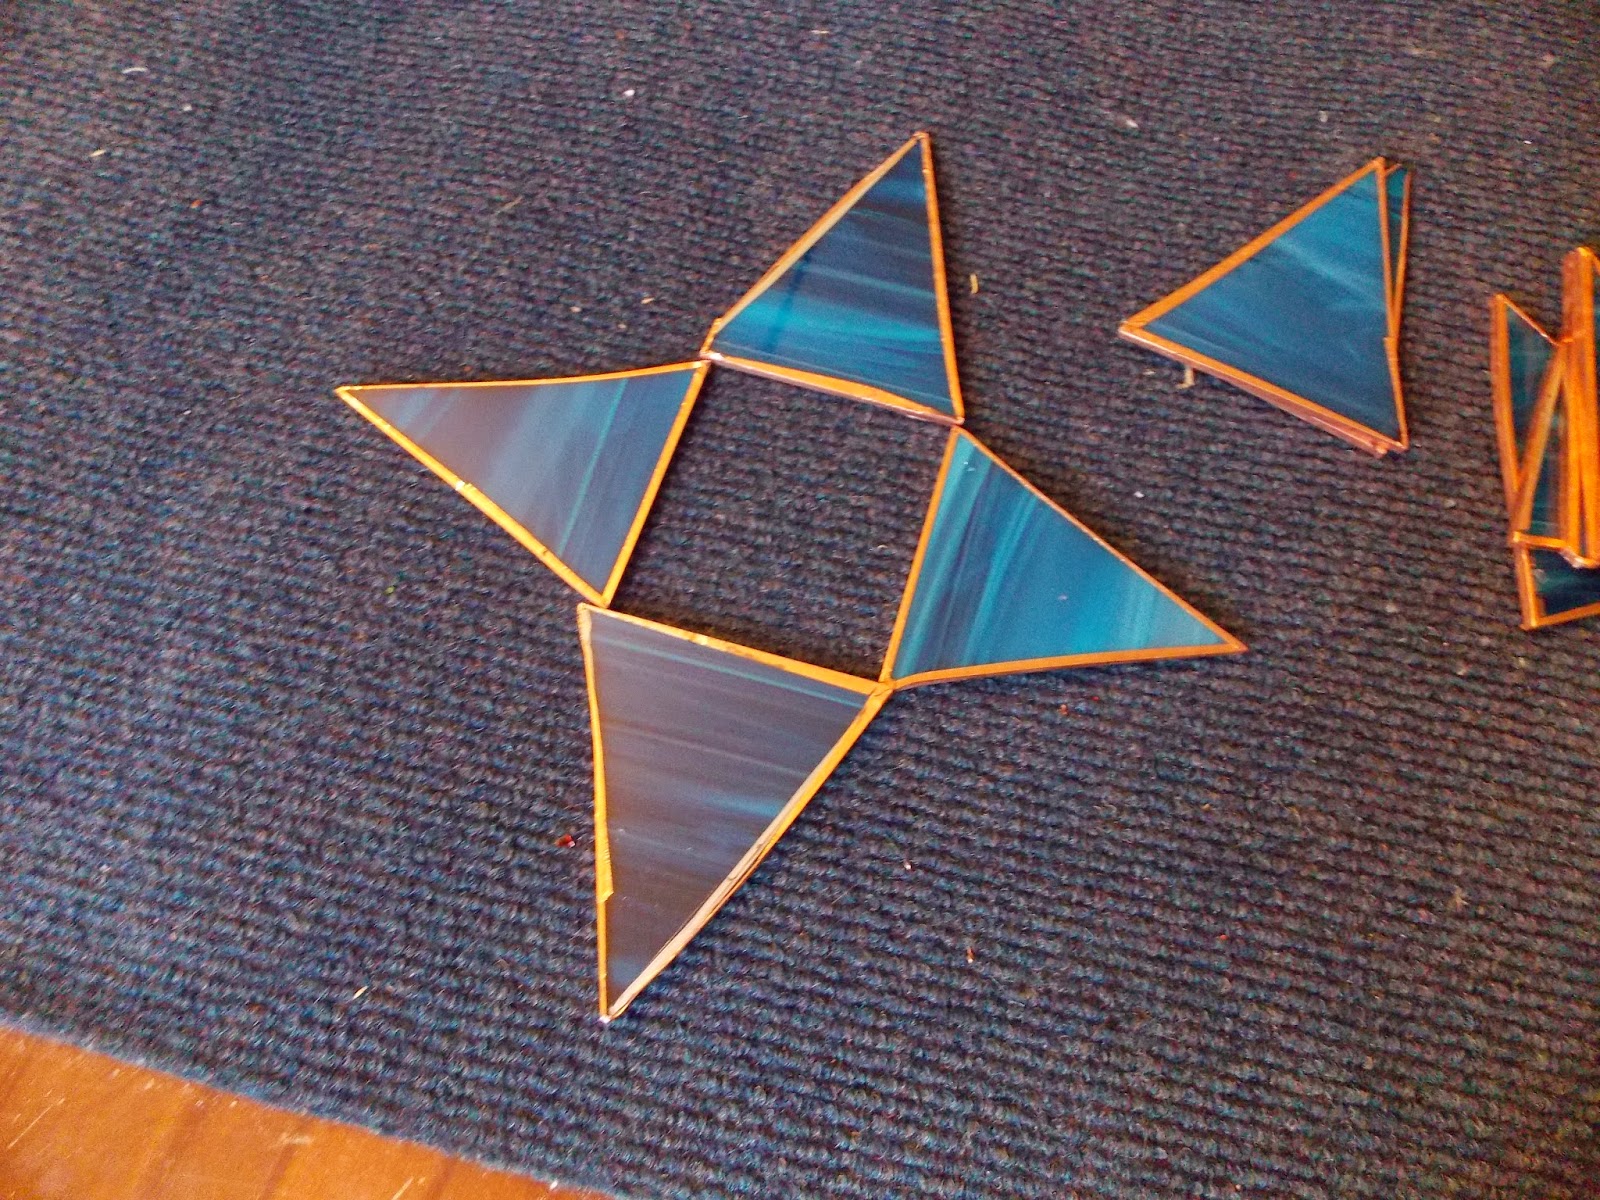
Once you have these fused together, take two of your loose pieces and putting them together at right angles, fuse one corner together. Do this three more times.
Take this conjoined piece and flux the corners of that. Now in your square that is formed by the original four pieces, tack the corners of this piece so it "stands up".
Do this on the remaining sides with your other pieces so it stands.
Now, with the remaining pieces, we are going to fill in the space that appears open here, on the horizontal plane.
We have to clean this up at this point, you are essentially done. What you need to do is clean off all the excess flux and anything that is still stuck on the glass. Making sure your glass is cool, wash it off in sudsy water.
Dry it off. Polish it up. Clean your tools. You have just created a family heirloom or a beautiful gift in less than 2 hours. It looks highly impressive doesn't it? You and I only have to know how simple it was!


Beautiful! A gift like this would be a treasure. Thanks so much for sharing at the Make it Monday Party! Hope to see you again next week.
ReplyDeleteThat's nice, good tutorial. Thanks!
ReplyDeleteI love this! I can see it being something that is passed down through the years.
ReplyDeleteThank you for sharing with us at Retro RePin Party! This is one of my favorites and it's featured during this week's party! Hope you stop back to grab your button and link up again :)
ReplyDelete~ Happy New Year!
Robin
You are so talented! I cannot believe you just whipped this up. So incredible!
ReplyDeleteGreat tute and so detailed! This is a craft I have wanted to try but been a bit intimidated - you make it look pretty easy-ish, so not as nervous to give it a try! Thanks for sharing with us!
ReplyDeleteNow I want to start making everything with stained glass! You make it look so easy. Thanks for sharing at our link party!
ReplyDelete