Places to Party

Monday, January 19, 2015

12 Months=12 Projects


It's amazing and a bit embarrassing just how much "stuff" one accumulates without thinking about it. Maybe you are a scrap booker, maybe a quilter, stitcher or maybe like me, a dabbler in several creative excursions, but eventually we all end up with loads and loads of "stuff".


Every so often I think I should just put a lot of it on Ebay and sell it. I pick the pattern or object up and then fall in love with it all over again. After all, I bought it with the original intention of making something out of it, so how could I get rid of something that has so much potential?


So here and now I'm going to publically set a goal. I'm specifically going to focus on the growing fabric pile in the corner of my room. My goal is to work this entire fabric pile into usable items by December of next year. This pile will be changed into quilts, rugs and various items by the end of the year. If Eleanor Burns can make a quilt in a day, I should be able to at least make a project or quilt top a month.


Laying on my mother's bed back home is a Grandmother's Flower Garden quilt that she received after one of my grandmother's passing. The individual hexagons were made out of shirtings from one of the grandfather's old shirts. I love the concept of waste not, want not and nothing illustrates that more than this quilt.
 
But while, I've always loved the Grandmother's Flower Garden quilts with their little hexagons but with my busy life, sitting there and stitching each little patch isn't going to happen. Also, I've never liked the busyness of the final quilt when it's patched together.
 
 
My first project is going to be out of Ms. Burn's book, specifically her "Egg Money Quilts".
This uses up various bits and bobs of materials and looks so stellar when it's done. Unlike the old quilts, this one uses a cheater's method to get a similar look without as much effort. Truly a win-win!


The first step in making this is to get some template plastic at your local craft store. It'll be found near the quilting notions and the cost is really reasonable. Trace your three patterns onto the template plastic and cut out as so:


Next, on the wrong side of your fabric draw your shape and cut it out. Taking some interfacing, I used craft weight, put your right side down on top of the bumpy side of the interfacing. Sew your piece to the interfacing.


Cut out and on the interfacing side, make an incision with your scissors. Turn the right side out. I use my fingers to turn it out as much as I can then the closed scissors to gently pick out the points.


Turning it inside out.


Once you have it picked out I also tug on the legs to make sure that they are as straight as I with my mediocre sewing skills can muster. I then lay the background square and each piece down until I've created a "flower" I like.
 

Lay down the flower pieces until you have a "flower" you like. Mix and match!


When you have the result you like, press that puppy down to secure it!


Then sew around the outside edges. I like the blind hem stich and park the walking foot right on the edge so it "bites" into the fabric at intervals. I used black thread to mimic the old 1930's quilts.
Blind Hem Stitch
 
Riding the edge.


 When it's securely down, now take the smallest template and mark where the 'hexagon' is. Stitch straight lines to mimic the look that each one was pieced.


 Stitch:


When you have a variety of patches, determine the layout. I'll show you mine next week. 


 This is a great patch to use up odds and ends. That is why our grandmother's loved this quilt.
 
Have fun!
 

Monday, January 12, 2015

Embroidery & Equations


So the other day I was walking down the street
and a lady came up to me and said,"Quick, if 3x=12, solve for X"
 
"x=4" I answered...
 
Just another day where I used my algebra in everyday life...
 
Funny, you don't believe me? Wonder why...
 
While it's true I can't say that any situation like this has ever occurred in an everyday life, there is one thing I use often that I did learn in algebra class and that is crosstitch.
 
The story is that one of my good friends sat behind me in math class and Roberta taught me how to crosstitch little hearts on aida and from that point I was hooked. The first pattern I ever learned was this:
 
                                                               xx   xx
                                                                       xxxxxxx
                                                                          xxxx
                                                                             x
                             
So let me share one of my favorite pastimes so that you may enjoy it too.
 
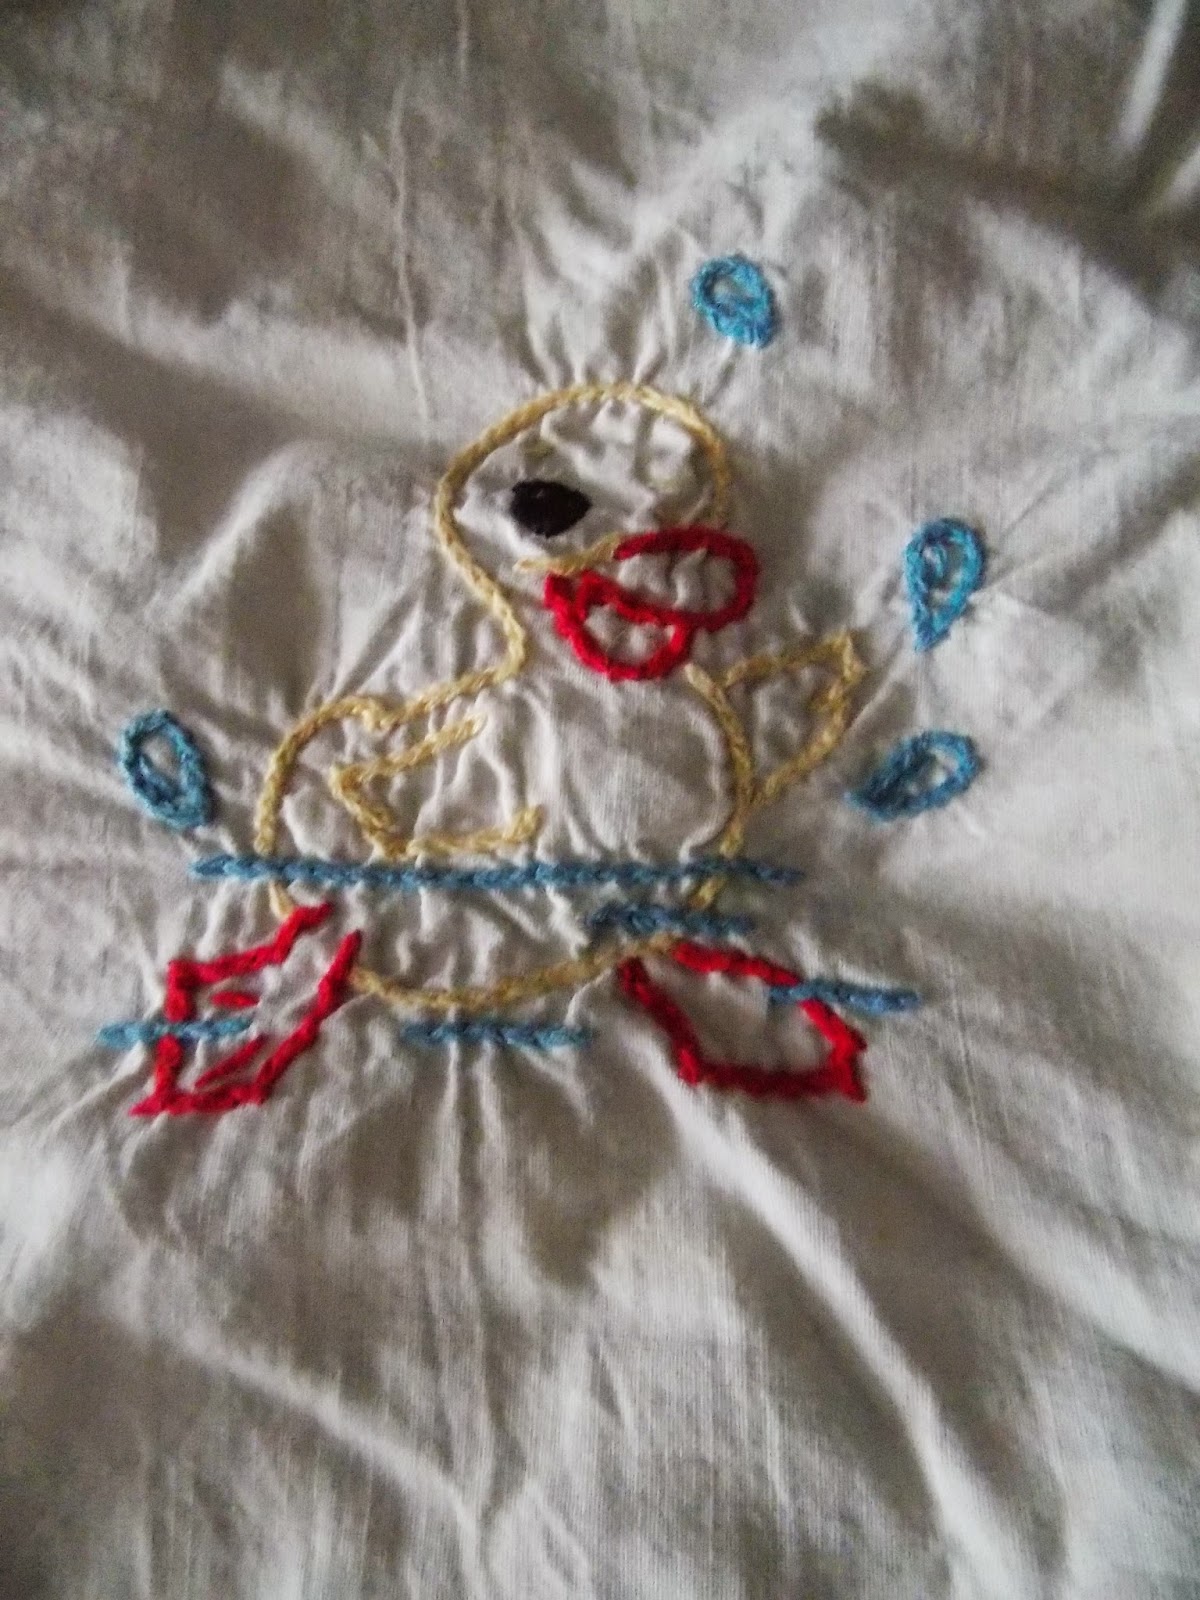
An example of stamped crosstitch
There are two styles of crosstitch: stamped crosstitch and and counted crosstitch. Stamped crosstitch is typically sold in kits and the patterns are stamped in ink that disappears as soon as you wash it. (A bad situation when it accidently is placed in the wash and it wasn't finished!) You follow a pattern of symbols to know which color to put down and essentially cover those areas in crosstitch. These come in projects that include pillowcases, quilts, tableclothes, etc.


One of my favorite pieces that hangs in my kitchen. It reads:
"I hear your footsteps in the hall, you are home again and
safe. All the burdens of the day are lightened, and all the

night's noises are music to my ears".
 The second type of crosstitch is counted crosstitch. In counted crosstitch, you purchase all the components and a pattern separately. You place your stitches on the fabric in relation to other stitches to build the picture.


While you can crosstitch on just about any fabric, the easiest is evenweave fabric known as aida. With aida fabric, there are equal weft and warp threads so it forms a square-like formation that makes it easier to count. The lower the number of the aida you purchase, the larger the holes. The larger the aida count, the finer the cloth and you typically have to go over two threads to get a more solid and larger design.


I prefer aida 14 as it's easy to get, comes in a large amount of colors and is easy to see without being too large. Additionally you need to purchase floss. Your pattern will tell you what type of floss but typically I use DMC. There are conversions between DMC and Anchor, the two most common brands, but there are also many speciality manufacturers that have wonderful colors and threads to choose from so never limit yourself.


Tools for Crosstitch Needed:


Needle
Hoop
Pattern
Embroidery Floss
Scissors
Item to be embroidered
Fray check or masking tape (optional)


General Directions:

After obtaining your materials, fold fabric in half and then half again to determine your center. Once you have determined the center you have a decision to make; do you want to start from the center and work out or do you want to start from the nearest corner and work your way down. Neither one is more correct than the other it's simply a personal choice.


Determine the center of your pattern.

Follow the arrow at the top down until it meets
the arrow at the side's line across. You have
now found the center or your piece.
All patterns will show a small arrow at the top and side(s) of the pattern to help you locate the absolute center of the piece. Follow the line going from the top until it meets the center line going across. This is your center. If you are working from the center then count to the nearest image from the center point. Find the top portion of that image, in this example you could choose either the cat or the hat and stitch that motif.


Or, as in this example, I choose to start from the border as I knew the design was small enough to use only a portion of my fabric and I could then use the rest for another project, I started from the end leaving at least 1-2 inches or so that I could easily frame it.


Next determine how many threads to use.

A typical pattern requires 2 to 3 threads. Each floss you buy wil typically be made of six plys to make the thread. You separate the plys into either 2 or 3 threads depending upon the pattern, the thickness required or desired. As you can see in the grape piece, I went heavy, using all 6 plyes at once because this is a tablecloth that will be getting used so I want it to be durable. In the house piece above, 3 plyes were used for most of the piece but the trees and skyline were done in 2 plies that were not crossed to show a faded or shadow effect.


How to begin.

When you first begin to crosstitch your piece, leave at least 1/2" to 1" of thread on the back and hold it with your finger. We do not knot our threads in crosstich, rather we hide or bury them in the work. You can crosstitch each individual stitch but the quickest way to stitch is to stitch across the number of threads in one direction and then when you reach the end of the row, cross in the opposite direction on the way back.


 As you cross back, hold your "tail" in the path of the new stitching so that your new stitching stitches over the thread effectively burying the tail in the work and anchoring it.


When you come  to the point where you are adding another color into the motif, simply skip that stitch block for the amount of stitches called for in your pattern. Once you have finished color one that you are working with, re-thread  your needle with the new color and, going into several stitches on the back, bury the thread end of the new color under the old and begin filling in the missing spaces, burying your thread underneath existing stitches as you go to make the back of the work as neat as you can.


Once  you have one motif done, simply choose the next and count from a stitch in your finished motif to the next one you need to begin to determine the space in between and  to know where the placement is. In this way, you complete your entire piece.

Optional.
Now, an optional thing you can do is either apply a line of fray check to the end of your fabric if it's aida or run a piece of masking tape along the edges if you are bothered by a bit of fray. I used to do the masking tape but did not like the residue it left on the piece and certainly wouldn't frame it with that on it (as masking tape is acidic and will cause your piece to eventually yellow). Also, you may from time to time see the sticky boards to frame your piece. I personally do not recommend them either as even if they say they are archival, ultimately your piece will become tacky as the adhesive in the boards will leach to the front. If you are putting glass in front of the piece that may not be a big issue but if not, any dust is going to be attracted to that tack and your piece may not be nice for long.


I hope you enjoyed this little tutorial on crosstitch. Crosstitch is not only a decorative hobby, it was once considered a useful skill used to teach schoolgirls sewing techniques that they would need to employ in their future homekeeping skills. The oldest samplers in this country date that are still in existance, date back to the seventeenth century. They are so important because they record the female experiences in this country that were often not recorded or considered important to their male counterparts. In these samplers we can see births, deaths, marriages and important events through the eyes of the ladies that lived in these times. Isn't it time your record your life events for posterity. Start your sampler today to leave to future generations so that they can see what was and is important in your life.


Friday, January 2, 2015

Upon Cleaning Up The Linen Closet

It's that time of the year where we all feel the need to clean up our homes and in general, "lighten up" and "clean up".

So far the refrigerator was done on New Year's day (I party hard don't I?) as was the spice cabinet. Now it was time to tackle the "linen closet".

Seriously, in an 1867 house there is no such thing.

People simply didn't have the amount of clothing and household linens that we have now. The few that they did have were, in general in smaller farm households like my own, kept in wardrobes. So the one eked out space we have on the outside of my son's room is our "linen closet" and needless to say it is comprised of a few shelves and an eteger we had for years that is now doing it's duty as a make do set of shelves.


Baby Kittens
 
In cleaning out the linen closet, I came across two quilts made by Grandma Mert and another by Grandma Seale. Grandma Mert had made hers for her son, my father, when he was a baby. It was passed down to me when my son was born and gave him comfort through the first few years of life. It's quite cute with bears, ducks and other baby animals going through the chores of the week.


Maybe a Baby Elephant?

Of Course a Duck Taking a Bath


Then I came across the blanket my Grandma Seale had made for me when I was little. It has been so well loved that the blanket is falling apart and the embroidery she did is fading away. This blanket had been on my bed from childhood up until I moved out of my parents house and it's been draped over my son from time to time. It's covered and comforted two generations, keeping us warm. I love this blanket as well.


My hope is that this may have been an Aunt Martha pattern and I may be able to still get it from that company. To preserve this quilt, I think I may take the patches that are still usable and create new ones and put them in a quilt for future grandchildren and grand nieces/nephews.

In the meantime, it's time to start a new tradition I think. Time to break out the needle....


Don't Forget the Kuchen!


What has value?

If you have ever been in the unenviable position as I have in the past few years of having individuals in your life pass to the great beyond, you find yourself questioning that.


In cleaning up my in-law's home after my father-in-law's passing, you realize that the things that often have the most value are the things that would have the least monetary value. Standing in the detritus of someone's life, what do you keep and what do you pitch?

When we were cleaning out their household the most valued things were those that were passed down or had meaning. Steve's grandmother's upright baby grand piano, her music chest (I didn't even know such things existed!) that housed not only his music from college and his sister's but even his grandmother's from college in 1923!

Then of course are the pictures, many dating back to the turn of the century with faces and names lost in the passing generations. It's always interesting to see the younger versions of people that you've always known in only one way. To see what they were doing in pictures, what they were interested in and who were their friends. Also their younger school days.

And the history that you never experienced that died out before you were born. S&H stickers, ration books and institutions that went away long ago.

Then the goldmine...

In a two drawered metal box which had the look of a library file system where the family recipes. Generations of women's lives in little 3x5 index cards. Some typed, some handwritten, some with notes to tell you what to add or delete for next time. I love old recipes and cookbooks for this reason. These were women's everyday lives, creating meals for their families to not only keep them fed but to fed their soul. The pieces of paper passed between friends, cut out of newspapers or passed down from mother to daughter. In my book, Marguerita Acworth's Georgian cookery, it is mentioned how her mother wrote many of the recipes found in the early pages of her cookbook from the 18th century and how this was passed down to her son upon her death. Cookbooks have been a tie to the past in this manner since time immortal. I love that my college even has a special collection of cookbooks because they recognize the value of women's experiences in feeding their family through history. http://clements.umich.edu/longone-archive.php


My mother-in-law's family was Dutch and German. Her recipes often read, "mix until it looks right" or "season until it tastes right", which is always fun when you've never tasted the original. In making her stuffing for my husband over Thanksgiving, I had a personal triumph when he said it tasted just like hers! Yeah. So here is one of her recipes I thought I'd share from the "treasured box". This is for her Kuchen that my husband raves about. (He also said she made a mighty fine spaezle I may have to try.

GERMAN KUCHEN
Preheat 375 degrees for 20-25 mins

2 cups milk (lukewarm)
1/2 cup sugar
2 beaten eggs
1 yeast cake (2 1/2 tsp dry active yeast)
1/2 cup butter (1 stick)
5 cups flower
1 Tbsp salt

As you can see as a typical recipe from someone that knew how to make it, there are no directions. I did a websearch and so I mixed it per their directions and I think it turned out alright. I did not add the 1cup of Crisco (honestly I simply forgot it) but I think if I did it may have been too soupy.

Dissolve the yeast in warm milk. Let cool a bit and then add beaten eggs and butter. Mix the remaining dry ingredients together in a separate bowl and incorporate into wet mixture gradually. Once it forms a dough, knead for about 5 mins and put in a bowl to rise for about 1  hour. Now having never made this I asked my husband, should the dough be sticky?

"I don't know", he said, "I was a kid. I ate it. It tasted "Kucheny".

Not a lot of help, but funny.

Mine was so I added about two more cups of flour. It came out a bit too bread like, I should have followed the recipe.

Now my husband's mother never put in a custard but I've seen several versions both with and without custard. My mother-in-law's recipe put sour cream and a mix of sugar, cinnamon and nutmeg. I had no sour cream so choose to put on some drained fruit that I canned and mixed it. It was good but my husband said that he remembered his mother putting cottage cheese into it with drained fruit, usually apple. Steve said that the flavor was what he remembered but the edges should be a bit more crispy.

Otherwise he said it was dead nuts. So we'll try it sometime in the future again. If you make this recipe, don't add in the additional flour and let me know how it turns out.


On a side note, the boys baked bread on their week off for the holidays. It turned out pretty good! They wanted a little web-cred sent their way so here it is: