Tole Painting For Your Home
 Painting is so much fun. I think you'll enjoy it too. Tole painting allows you to create really
 beautiful and unique things for your home and makes wonderful gifts for friends and family. So grab your surface, your patterns, your paint and your brushes and lets begin this adventure together!
Your first task is to find a pattern you like and determine what surface you are going to put it on. For demonstration purposes, I choose this Halloween piece because I love the quaint, nostalgic vibe this pattern gives off. It feels like you just stumbled upon a box of old vintage Halloween decorations from the 1940-1950's and, you lucky duck, get to take them home... but reality then sets in that that's not the case so if you want it, you got to make it. I also choose this pattern because it has a cool technique that you can use to "age" things or easily make "snow" that you don't usually get with patterns.* Feel free to pick any pattern or surface you want because we are showing you more the technique here than a specific project.
Prepping Your Surface
 Once you've chosen your surface, you are going to need to prep it. In this case I'm using wood, so that means I have to sand it and then remove any sanding residue with a tack cloth. If you've never seen or used a tack cloth, they are typically found in the paint department of any diy or big box store and typically run you about $1.89 for two. These are really necessary as you don't want to get painting only to have globs of sawdust in your paint. Essentially they are simply a gummy, coated piece of cheesecloth that helps you pull up the sawdust without wetting it. WATER IS THE ENEMY TO RAW WOOD. Do not simply rinse your wooden piece. It will cause the grain to rise and then it's a lot of sanding to get the wood usable again.
 |
| Most Important Step: Seal your surface. |
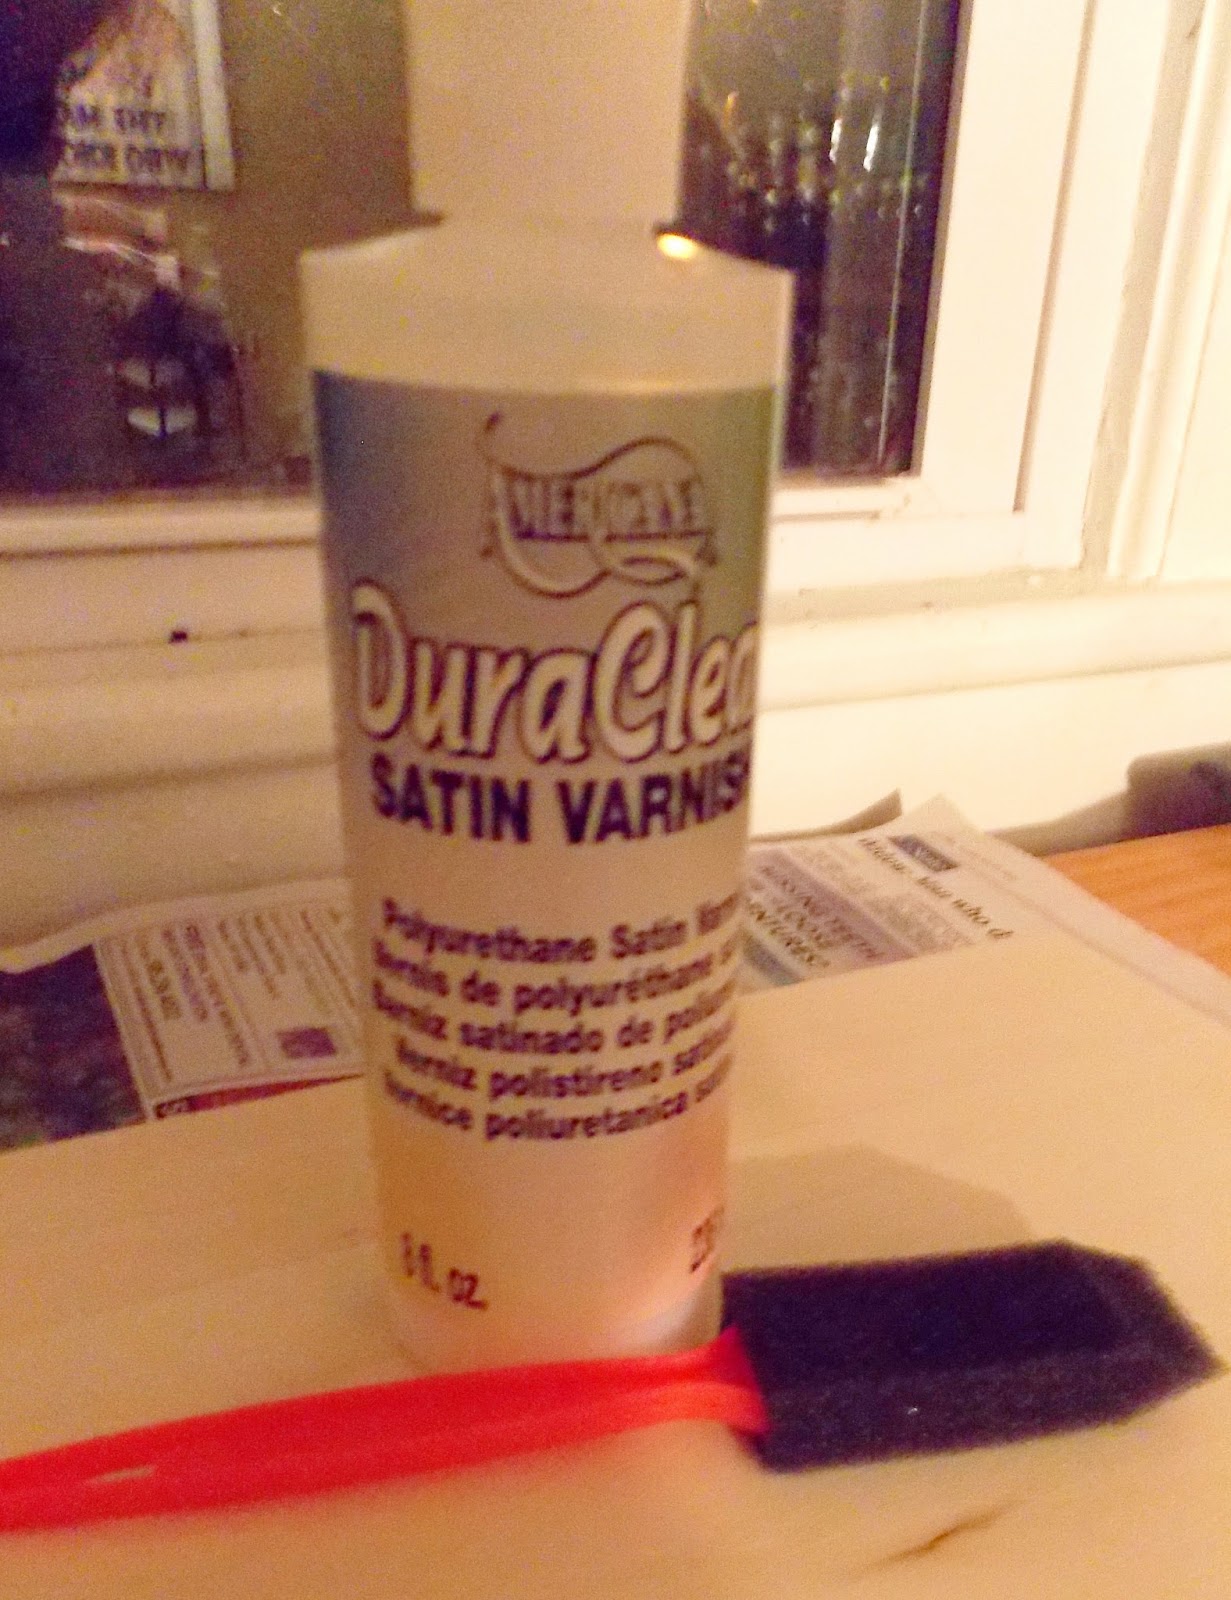
Now if you are using something other than wood, the next step would be your first. After cleaning your surface, you must seal it. Sealing your surface prevents paint seepage on porous surfaces, prevents wood from warping or plumping up the grain in your wooden pieces and gives your smooth surfaces "tooth" for your paint to adhere to. NEVER skimp or skip sealing your surface, you'll be upset if you do.
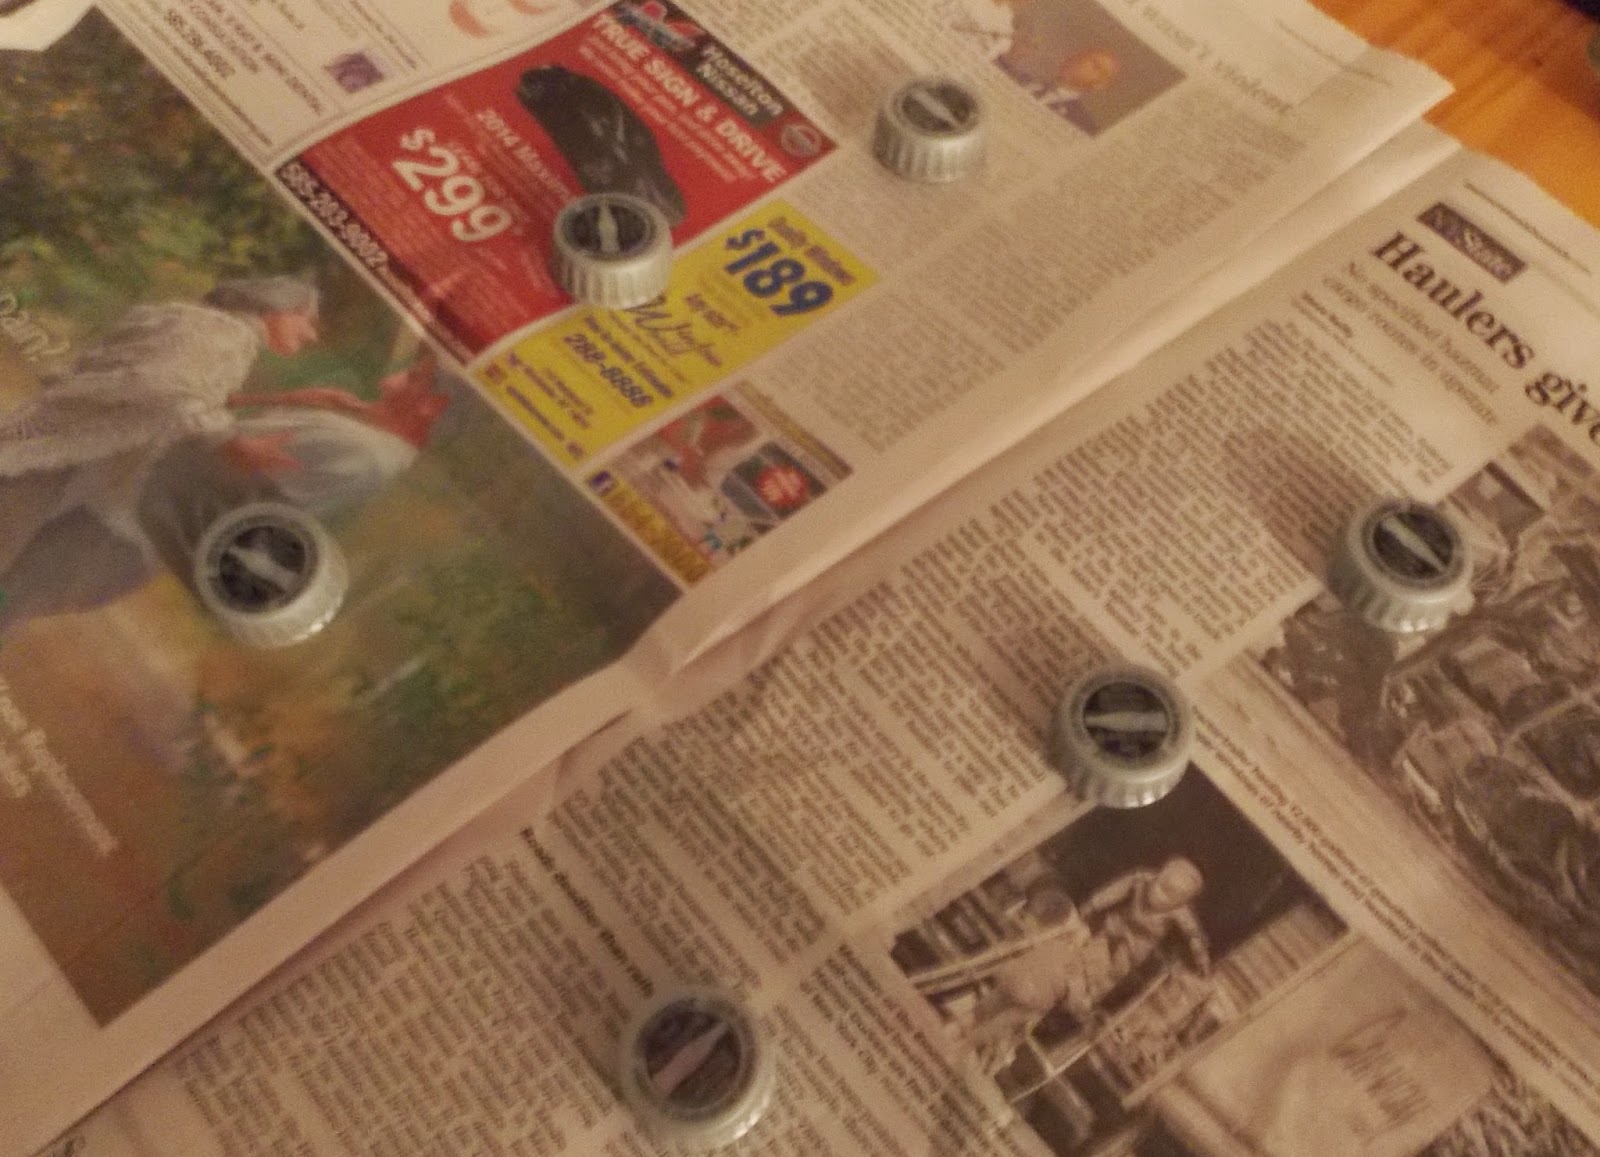 |
Neat trick: To keep your wet painted
piece from marking your surface or getting stuck to the paper, set down some plastic bottle caps to create a "ledge" for your work to rest on while you work on it. |


Once we've reduced or enlarged our pattern we have to make it usable for transferring to our surface. Using tracing paper, carefully copy all the lines in ink pen. Once transferred, we need to apply this to our piece. If you are working on a dark piece as I am here, use white graphite transfer paper found in any craft store. If your surface is light, you can use black. Make sure it's graphite paper and not carbon, carbon doesn't erase well.

If your surface is dark, I highly suggest at least two coats of white paint to fill in your area. With dark backgrounds, your paint can appear darker or "muddy" because of the surface underneath it. By basing that area I
n white before you paint, you allow those
colors to "pop".
 |
| Flat Angled Small Flat Round Liner |
1. Flat angled brush: This will allow you to fill in large areas and also help you when we
come to shading, especially edges.
2. Small flat: This gets into small places that the flat angled brush can't get to.
3. Small round brush. This is the brush you are going to use for a lot of liner work.

Additionally don't forget that a brush has two ends, the brush end and the handle end. Need to make a round dot on a project? Turn your brush around, dip it in paint and dot. Instant circle.
Now we need to talk about paint. For most of the work I do, I utilize acrylic paint. Some people work in oils but I find that acrylic is very easy to use, can be mixed with several mediums (fabric, candle, etc.) and dries fast. In home tole painting, we aren't going to get fancy with a palette either. Any washed Styrofoam packaging can be reused as your painting palette and when you are finished, toss it away!

The last tools you'll need are water, a paper towel and an old hairdryer for drying areas quickly.
Now it is time for what you came here for: PAINTING!
Base Coating
Base coating is just like coloring. You are filling in the spaces in between lines with the colors your pattern calls for. On your "palette" put a small amount of the paint your pattern calls for. Then taking the largest brush that will fill in the area without overshooting it, dab some paint on your brush and, starting inside the largest portion of the image, slowly fill in the void with the paint striving to pull the smallest amount of paint near the edge. What we are trying to avoid here is a "lip" that you can physically see and feel as it looks very "unprofessional".
It will take at least two or more layers of paint to make your piece opaque so once it dries, add another until you are happy with the effect.

Use your liner brush to "write" any words. the trick here is to let the paint "glide" off the brush (make sure it is damp) and off the end rather than a brushing motion.
Shading/Highlighting
What Makes Your Image Dimensional
Shading/highlighting is what brings your piece to life. Before you shade, everything is pretty much one dimensional but once you shade, you are adding perspective to your work. 
 Dip only one side of your brush in the paint...
....then start "walking" the paint along your brush like so to distribute the paint along part of the length of your brush. It may take a couple of times to get an effect you like. If you do put it on the piece and it is too obvious, you can rinse your brush and with just a damp brush go over your shading to make the end of the shading less obvious.


Many or most patterns do not tell you where
to shade/highlight only what paints to use to do it. This is where pattern reading comes into play. Look at your pattern to determine
where the author shaded her/his finished piece to determine where your piece should be shaded.
 |
| Pattern reading is often necessary to determine where a highlight or shading is to be put. |
Once you are happy with the background shading, you can dry your piece with a hairdryer if you are ready to continue painting or let it air dry if you aren't in a rush.
Now begin the process again, but don't add the final details until you finish your basecoating.
 |
| Trace. |
 |
| Check that it transferred. |
 |
| Begin base coating. |
 |
| Finish base coating. |

 |
 |
| Shade |
|
| Add details. |
 |
| Stand back and admire. |
Optional Treatment: Fly Specking

Fly specking is an optional treatment that you can perform to your piece to "age" it or add snow or in this case stars. You can fly speck your entire piece or as in this case, use your tracing as a mask over portions of your work you don't want effected. Simply dip an old toothpaste brush tip in your paint of choice and, using your thumb, rake it across the bristles to flick small portions of paint on your piece to mimic stars/snow/age. The closer you get to the piece and the amount of paint on the brush will determine how large or small your spots are on the final piece.
So you see, it's not that hard and you definitely have the talent to make wonderful things for your home or gifts for your families. Try your hand at tole painting today. You'll find lots of decorative pattern books out there over many different subjects and once is perfect for you. Let me know how your piece turns out. I'm sure it'll be wonderful! Happy Painting!
* (This pattern is from "Of Signs & Seasons" by Jill Ankrom and it is still available here: http://www.vikingwoodcrafts.com/mm5/merchant.mvc?Screen=PROD&Store_Code=VWC&Product_Code=87-11123&Category_Code=IAAA. ) or cheaper (for $1.49, here: http://www.decorativepaintingstore.com/products.php?cat=%241.49+Books+by+Sharon+%26+Gayle+Publications&pg=3#.VEFm9KPD_mQ)
I adore your art! It looks vintage, just my style. You make it look easy. I hope you will join us Friday for our Anything Goes linky.
ReplyDeleteThanks so much! I hope I made it look easy because it is! Painting is a lot of fun and it makes for great homemade gifts that you can create in a day that people will cherish for a lifetime. Thanks for stopping by!
ReplyDeleteLove the graphic you chose! Pretty:) Pinned
ReplyDeleteYou make it look very easy and enjoyable..I saw in the other post where you said it is like meditation...I feel like that with hand-quilting..get in the 'zone' / most of the things that have to occur prior to that are a bit more difficult, lol.
ReplyDeleteI would like to try this at some point or at least show it to my DIL who has been painting little signs and such for their house...she might enjoy this. AFTER the kids go to bed, ha ha ! :)
You have a great tutorial on painting and you've given me some inspiration to paint :-) Thanks for sharing on Merry Monday. Hope to see you again tonight at 6pm PST.
ReplyDeleteThank you for sharing your tole painting techniques. The tracing paper is a wonderful tool it seems to make the possibilities endless!
ReplyDeleteThank you for linking up with the Art of Home-Making Mondays last week and be sure to join in this week :)
LOVE LOVE LOVE THIS! I really enjoy painting, this is such a great craft! I'm giving it a try! Thanks for sharing, Pinning! BTW - found you on Snickerdoodle Sunday!
ReplyDeleteThank you for this. Your painting is wonderful and it makes me think I might be able to do it too!
ReplyDeleteKathy
I like it!! I would like to learn!! Good job ^_^
ReplyDeleteLove the vintage vibe!
ReplyDeletexx
Mila
http://milaslittlethings.com/
This is fabulous!! Thanks for joining Home Sweet Home!
ReplyDeleteI will feature this today at Home Sweet Home!
ReplyDeleteI will feature this today at Home Sweet Home!
ReplyDeleteI'm blown away by your fantastic tutorial. I've longed to do a good chalkboard picture and writing, but never seemed to work out. Now I get it and will be using your tutorial over and over. Such talent!
ReplyDeleteThis is SO cute! Thanks for all the tips and tricks to make it happen! I'd like to feature this post today at Tuesdays with a Twist. -Marci @ Stone Cottage Adventures
ReplyDeleteStacey, your tutorials are just incredible. I love this to bits. Thanks for sharing at Five Star Frou-Frou. Mimi xxx
ReplyDeleteHow fun! I just adore your style, creativity and drive!
ReplyDeletePretty! This was a really wonderful post. Thank you for your provided information. Jim Handyman Offering painting Services.
ReplyDeleteThe blog is fantastic…keep up the good work…I really liked your work. jim's handyman Providing Painting Services Painting is a crucial project. And we provide high-quality paints to our customers.
ReplyDelete