Places to Party

Tuesday, October 16, 2018

Haunted History

Can I just say I love this time of year? The leaves on the trees changing. The crispness of the year. The local history.

Yes, the local history. 

This is the time of year that WNY does a lot of "Ghost Walks". Last weekend I was trampsing around the Mt. Albion Cemetery yet again. With 19,000 departed souls buried there you can bet there are plenty of stories available to be told! 


Every year, we are taken to a different part of the cemetery to learn about the pioneers who came to our area and created the villages/buildings and the long forgotten history of our area. Far from being morbid, it's a celebration of those that were our founding settlers who's names grace our villages, streets and businesses.

This year I added another "Ghost Walk" to the itinerary. This was the Cobblestone Society Ghost Walk. While cobblestone houses are found from Ohio, Illinois, Michigan, Wisconsin and into Ontario, Canada, 90% of them are found in the Rochester area. These unique houses are truly beautiful and the Cobblestone Society works hard to preserve them. The Walk takes us to some notable buildings including the Universalist Cobblestone Church which, built in 1834, is the oldest cobblestone church in North America. 


We met several notable "spirits" at these various places. Horace Greeley never lived in the area but owned a house in Childs to support an aunt who could not pay the mortage when her husband died. Horace was the founder and editor of the New York Tribune and was especially famous for constantly calling out the Tammany Hall and Boss Tweed Republicans in that prestigious newspaper but eventually succumbed to his influence. He made an unsuccessful bid for the presidency but lost to President Grant.


We also met Rufus Bullock who was mentioned rather defamatory in the novel Gone with the Wind. We met him both at the Mt. Albion cemetery where his mortal remains are buried and again at the Cobblestone Museum. Rufus was governor in Georgia during the Reconstruction Period after the civil war. He believed in equal rights and education for all Georgians. Because of racial tensions, he eventually called upon the federal military to help ensure the rights of the newly freed African Americans. This did not sit well with a majority of his citizenry who grew to hate the governor with such a vengeance that he fled his term with two years remaining.


Jennie Curtis only 18 when Confederate soldiers took her prisioner and declared her a spy. She vehemenly denied it and refused to meet up with Robert E. Lee feeling that he was a traitor to the republic. She stood her ground and eventually was released.


Starr Chester's shop was visited and he explained how it began as a shop for shoes and became a harness shop later. The shop was originally in Gaines and donated later to the Cobblestone Museum.


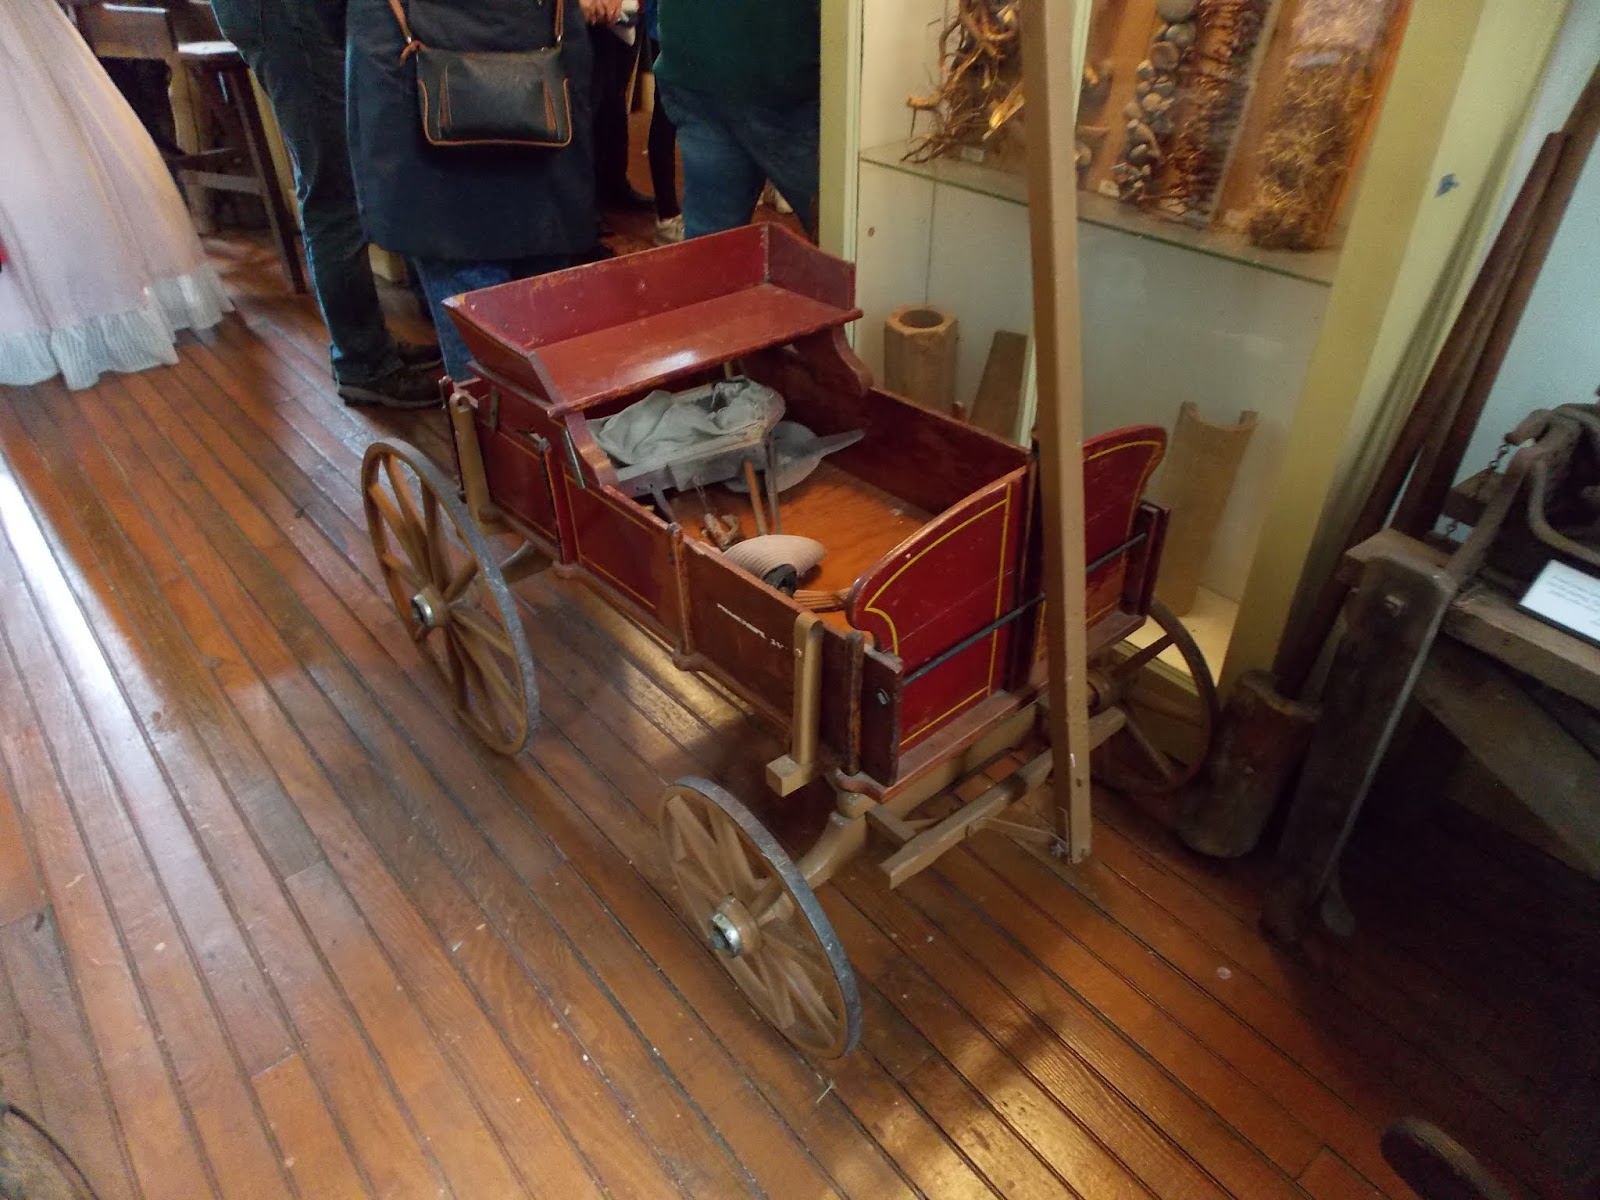
We also visited several other buildings in the museum's coffers including the print shop, the blacksmith and the Farmer's museum, both which highlighted the region's rural roots.


The Farmer's Museum:


And local tragedies: In 1859 at the local fair, a bridge collapsed killing 18 people. 500 people were on the bridge at one time attempting to watch the ropewalker when it collapsed into the water. 


Some of the dead were buried were buried on the museum's property.


Autumn just seems the right time to reflect on all who came before and to honor them. So much of our local history is simply forgotten or goes unknown. A local "ghost walk" or "cemetary walk" is a great way of learning and honoring all of those pioneers that were here before us.

Monday, August 20, 2018

The 2018 Tomato Basket

I need a new garden basket.

             Time to get to weaving....


I put in an inordinate amount of tomatoes every year. This year it was 32 of which I grew most of them. Tomatoes are my main crop that I can and I can them religiously. They are used through the year for chili, bean and pasta soup and just about anything that calls for tomatoes. I love that I know where my food is grown.

Every year, I gather as many Tupperware containers,  pots and pans and anything I can gather to hold all those tomatoes. This year I finally got smart and created my own basket. 

It is big, not as big as I initially had it but it will hold A LOT of tomatoes. 

This also helps to clean out some of this mess below. (I have a second container of reed that is just as full! 


Summer Tomato BasketFinished size: 18 1/2" L x 16" w x 7 1/2" h

1 large D handle 
1/2 flat/flat
#2  or #3 RR
2 pieces 3/8" flat/flat (or use 1/2)
1/2 flat oval for rim
-Assorted left over rr for filler

This was a left over reed basket. Feel free to substitute with whatever reed you may need to use up.
Cut your 1/2" and 3/8" reed as follows:  
10 @ 44 inchesof 1/2 flat/flat
4 @ 44 inches of 3/8" flat/flat
12 @47 inches  of 1/2 flat/flat

 Lay your spokes out on either side of the handle in this configuration:
2 - 1/2" ff 
1-3/8"ff
1- 1/2"ff
1-3/8"ff
2 - 1/2" ff

Soak a piece of #3 or #2 RR (Round reed) until pliable. (Hot water will make this  happen faster). Bend off center so both ends are different lengths. Start two reeds over from the handle and begin twining over and under. Do this for three rows.


Once you have twined the three rows, your base should measure 18 1/2"x 16"w. Use a piece of scrap reed to make sure your base is spaced evenly.


Weave about eight rows. From the bottom up I wove:

1 row of1/2" ff (natural)
4 rows of 3/8" (orange)
1 row of 1/4" ff (blue)
2 rows of 1/2" ff (natural)


On my initial attempt of weaving this basket, I twined at the base but changed my mind. So at this point, I slit one weaver so that this weaver is now considered two weavers so we can do a continuous twill for three rows. Starting behind the 3rd weaver on the 16" side, start by going over two, under two all the way around. When you get to the split weaver, treat it as two different weavers and this will allow you to go to the next row. Do this for three rows.


This gives you the idea. I actually ended up doing this after
8 rows in the finished basket.


Weave three more rows of 1/2" ff (natural). Then twine three more rows of either #2 or #3 rr reed. Cut and tuck. (For a refresher, see here.)

If you find you have lots of hairs, wet your basket and burn off any little hairs. 

Once your basket is dry, you can decide whether you want to stain it or not. If it is an actual work basket as this one is, I highly suggest  you stain it. You want to protect it as best as you can to get as much use of it as you can.


I typically use Min-wax in Golden Oak. Do this outside in an area that you don't mind getting stain on. I start on the inside and finish on the outside of the basket.


To dry, I typically hang it off a shepherds hook outside if I can. 


Friday, July 20, 2018

Cherry Sweet Rolls

Every year my tart cherry tree produces an embarrassment of riches.

I have tons and tons of cherries and being a "waste not, want not" type of girl, I'm always looking for new ways to use them.


I've made wine... and finally threw it out two years later.


I've got tons of jam.                      

Made several pies.

I've bartered them for veggies.

I've made vinegar.


So then what? 

Then the idea struck me. If they can make cinnamon rolls, why not roll up some cherries in there. Maybe put a cheesecake like filling to make it sweet and wah-la, sweet cherry rolls.


I found a no bake cheesecake filling but found that it probably would be too liquid to go inside like a frosting like I wanted so I did some major renovating. I used the sweet roll recipe from a bread company cookbook and here are the results.


Cherry Sweet Rolls


Dough (From Fleischman's bread book I believe)


5-5 1/2 c all purpose flour
1 1/2 c sugar
2 Tbsp dry yeast
1 tsp salt
1/2 c water
1/2 cup milk
3/4 cup butter or margarine
2 eggs

In a bowl, mix 3 cups flour, 1/2 c sugar, undissolved yeast and salt.  In a separate saucepan,
heat milk, water and 1/2 c butter until warm (120 degrees), butter does not need to melt.Stir into dry ingredients. Stir in eggs, and enough flour to make a soft dough. Knead on light floured surface until smooth and elastic about 4-6 mins. Cover and let rest 10 mins.


Cream Cheese Base 

This started its life as a no-bake cheesecake filling but changed radically when I realized the receipe I initially was going to use was a pour and set filling. As I wanted this more of a frosting like consistency, I improvised.

2 bars cream cheese-room temp is best
7 oz sweetened condensed milk
1 small lime
1 tsp almond extract
1/8 c sugar
1/8 c whipped honey (or more sugar to taste)

Mix all to a frosting like consistency.  

Frozen or fresh pitted cherries.
(If using cherry pie filling, drain all the syrup off, it will make the rolls mushy.)


Assembly: 

Roll out the dough to a rectangle shape about 1/4" thick. Frost with the cream cheese frosting.


On top of cream cheese spread a layer of cherries (not sweetened). 


Roll out jellyroll style and cut.

This looks like a crime scene!


 If freezing for later use (think of this as a back to school treat!) put in cake pan container with directions on how to bake and stash in freezer. 


 If not, bake at 375 for 30-45 mins. (Trick is to test the middle roll for doneness.) Once finished, serve as is or make a drizzle of powdered sugar and milk and drizzle over the top.

 Delish!


Thursday, May 17, 2018

Bring the Snacks Back!


Why is it that certain snacks go out of style? After all, they were good once, why don't people still make them?

I mean, I understand, some of it is a change in culture. When I grew up it was rare that anyone had peanut allergies so my favorite Peanut Butter Goodies were everywhere. My goodness, they were on our school menu at least once a week and everyone loved them. Now? Some schools won't allow even peanut butter sandwiches because of a handful of students are allergic.  I get it, peanut allergies can land a student in the hospital but in real life, people have to adapt to their surroundings, not the other way around....

And peanut butter goodies are SO GOOD....


But what about Finger jello? Does anyone remember that? Finger jello is AWESOME and yet you never hear of anyone making it anymore.

Well, I'm bringing finger jello back. It's great. It's low in calories. Did I mention it's AWESOME? 

FINGER JELLO


3 packets of unflavored (Knox) Gelatine
3 packages of jello (most have the sugar in them)
(1/2 cup of sugar if your Jello/Flavored Gelatin is sugar free)
3 cups of boiling water
1 cup of cold water

Mix your unflavored gelatine in your one cup of cold water. 


Mix your 3 packages of your favorite jello in with your boiling water. If your Jello is sugar free, add sugar and disolve. 


Mix both gelatin mixtures together and put in an ungreased 13x9 pan. 


Let it cool and once cool, put in refrigerator to firm up. Once firm, cut into squares and eat with your fingers. YUM.


YUM!


What other snacks of your childhood do you want to bring back? Let's make a concerted effort so they don't disappear forever!

Wednesday, April 18, 2018

Spring? Stay Inside & Sew!


Mother Nature doesn't seem to know it's spring. 


The ice storm started Saturday night. The weatherman told us it would be 50 degrees Sunday.

Like fudge it was.


To be fair the ice did melt off the windows but it never got out of the thirties that's for certain! 

It was very pretty though.


And today, it drizzled all day.


Earlier this week we had a visit from our local neighbors. This group travels together and likes to hang out in the field. 


My car died too Friday.. so I can't go anywhere...


Might as well sew right?

I did five more blocks towards this quilt. To be honest, I don't even know how many I currently have. They are large blocks too so I may have at least one side done by this point.


I obviously like this fabric, because I believe I've bought all they had at the co-op.


I picked this fabric up this past weekend during a visit back home.
Linda's Fabrics in Davison MI.

I love picking out my favorite fabrics from my stash and seeing what they look like together. Kind of fabric candy...

 
This fabric I picked up at during the local community garage sale last year.
The pink and black reminded me of a Barbie Doll.

I keep trying to pick out which ones I'm going to sign for the quilt front and back. It changes with each block I make.

This one?
 
Love the Stars!


Or this one?


Decisions, decisions...  

Which one would you sign?